Customer's Challenge
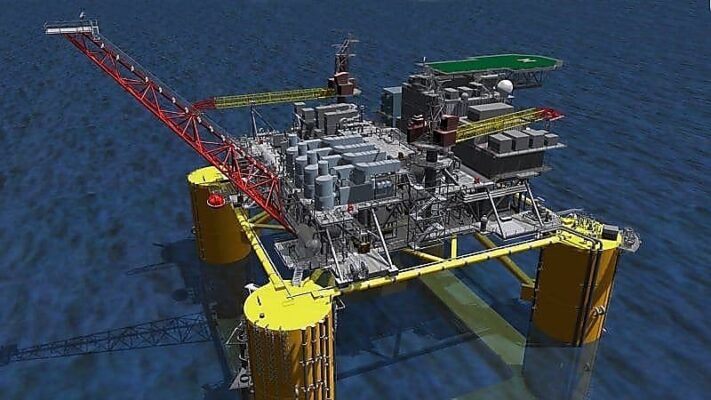
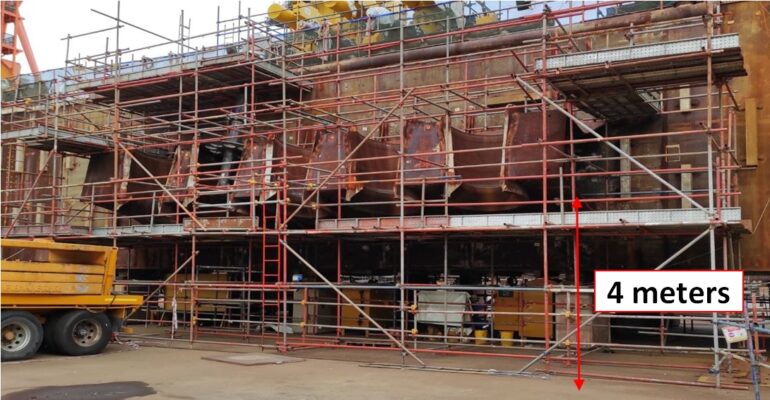
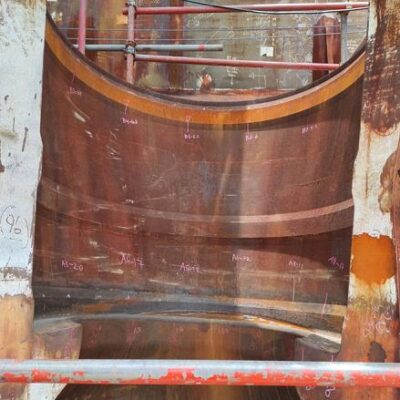
Our client required precision in-situ machining on a semi-submersible Floating Production Unit (FPU) located in the Gulf of Mexico. The FPU, illustrated in Figure 1, consists of 10 riser systems, and is designed to produce 100,000 barrels of oil per day (bpd) and 100 million standard cubic feet per day (MMSCFD) of gas. The riser casings, approximately 2 meters tall and wide, required stringent GD&T (Geometric Dimensioning and Tolerance) standards to ensure proper fitting and optimal function. Precision machining was critical to meet these specifications during the fabrication stage.
Solution
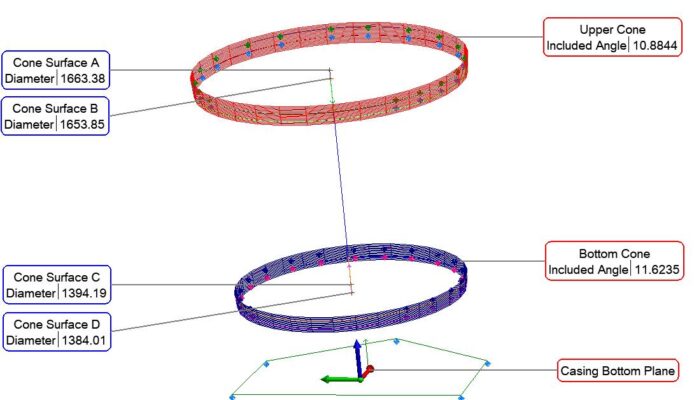
Due to the complexity of the project, the FARO Vantage Laser Tracker was deployed to conduct highly accurate dimensional measurements of the riser casings. Conventional metrology methods were insufficient for this application, so our team opted for advanced laser tracking technology to meet the precision requirements. The following five key areas were identified for each riser casing:
- Diameter of Cones A/B/C and D.
- Centers of A/B/C and D.
- Taper angle at A/B/C and D.
- Surface runout of Cones A/B/C and D.
- Surface runout of the casing’s bottom plane.
After conducting an “as-is” dimensional survey using Spatial Analyzer software, our team could determine the datum points necessary for setting up the portable boring machine. This allowed us to verify that sufficient material was available to achieve the required tolerances.
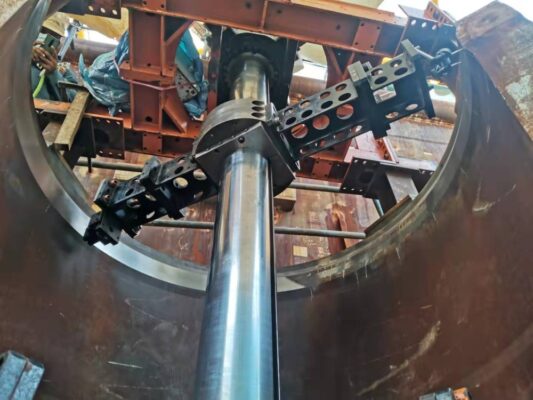
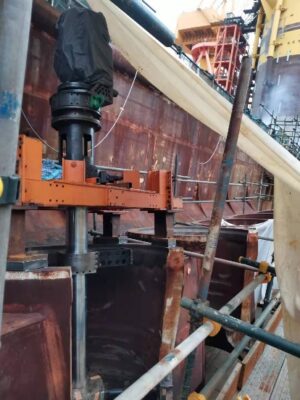
Figures 6 and 7 demonstrate the portable boring machine setup used to machine the riser casings with precision. The FARO Vantage Laser Tracker was further utilized to monitor the machine’s setup and perform interim and post-machining surveys to ensure accuracy at every stage of the process.
Benefits
By leveraging FARO Vantage Laser Tracker’s digital measurement capabilities, our client gained fast, accurate data analysis and simulation to inform decision-making throughout the project. This process significantly improved efficiency and helped meet tight project deadlines. Each casing was completed in approximately 4 days, including pre-survey, in-situ machining, interim checks, and post-machining surveys. Our advanced metrology approach ensured precise alignment and dimensional accuracy, meeting the highest quality standards for this FPU riser project.


